Introduction
Installing and configuring Browsium software is easy to do using existing enterprise software deployment tools but understanding the details of the Browsium Client settings and options is critical for many customer deployments. Customers environments differ greatly, as do the requirements for how Browsium software will be packaged, configured and deployed. This guide was created to help address issues related to the most common issues with the installation and deployment of the Browsium Client.
Installation
Section titled “Installation”This section covers manual installation of Browsium Client. Network and command line installation options can be found in Command Line Switches for the Browsium Client Installer. Administrator rights are required to run the Client Installer. Once installed, the Browsium Client runs under any user account and does not require special user permissions or elevation.
The Browsium Client can be downloaded from the BCMS Server or found in the zip file provided by Browsium.
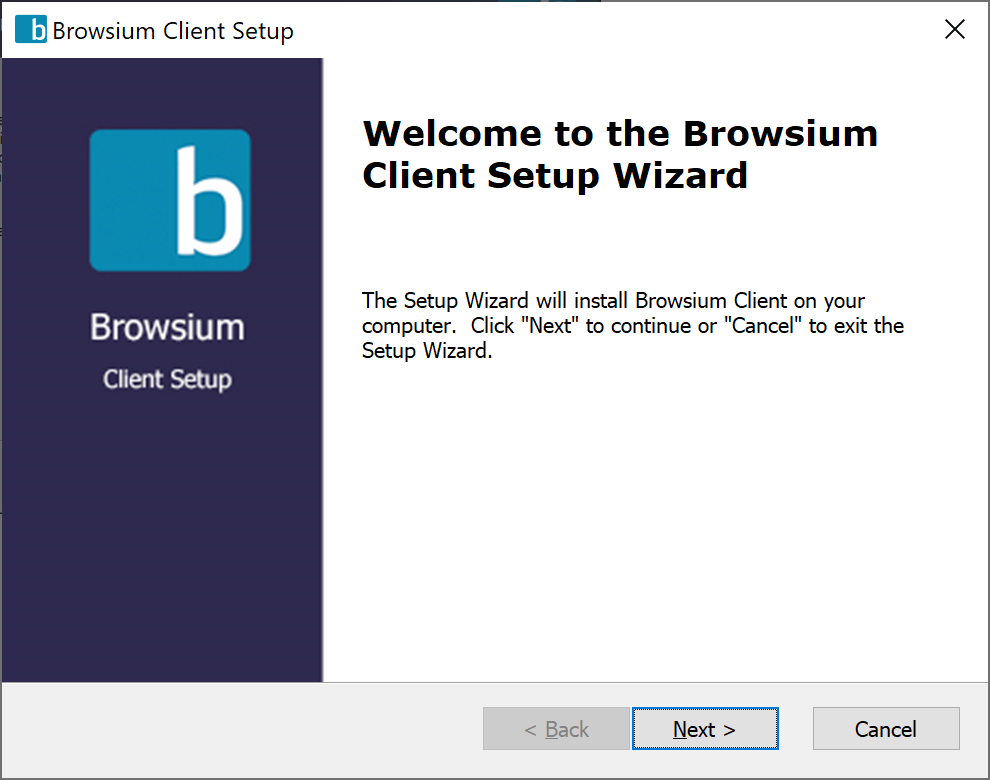
- To start the Browsium Client installer process, double-click on the Browsium-ClientSetup.exe file. Administrative rights are required to properly complete the installation process. The first screen provides a basic introduction. Click Next to get started.
 {width=“3.620657261592301in” height=“2.8528149606299213in”}
-
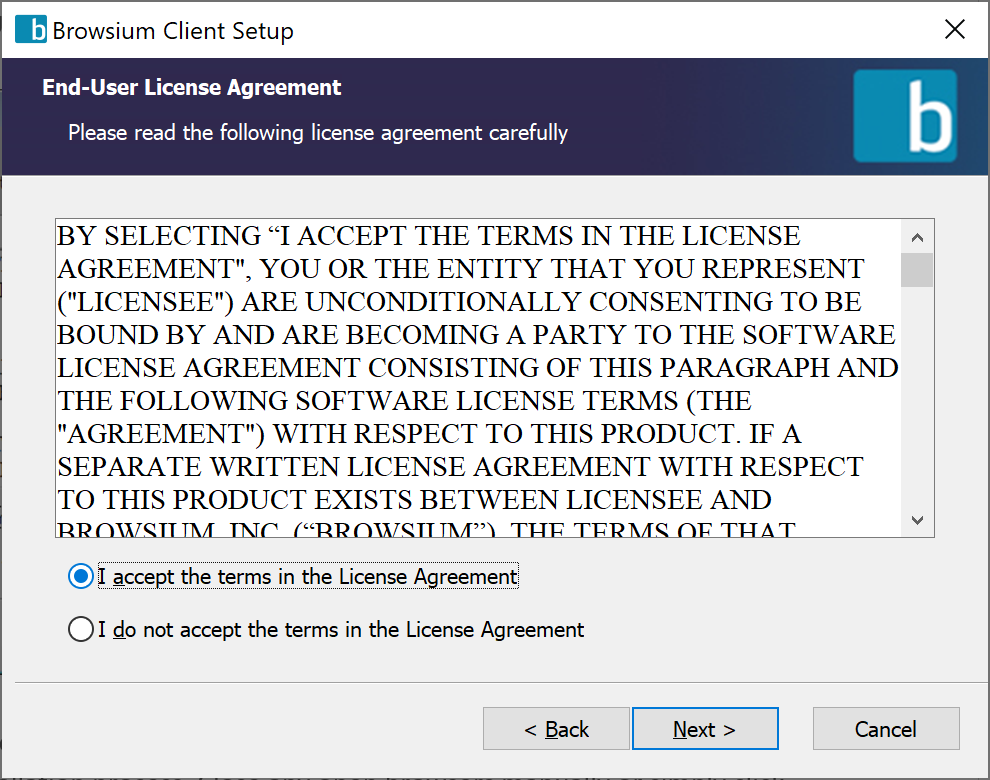
The next screen contains the End User License Agreement (EULA) for Browsium software. Read and accept the terms of the EULA in order to proceed, then click Next.
 {width=“3.933251312335958in” height=“3.0991174540682414in”}
 -
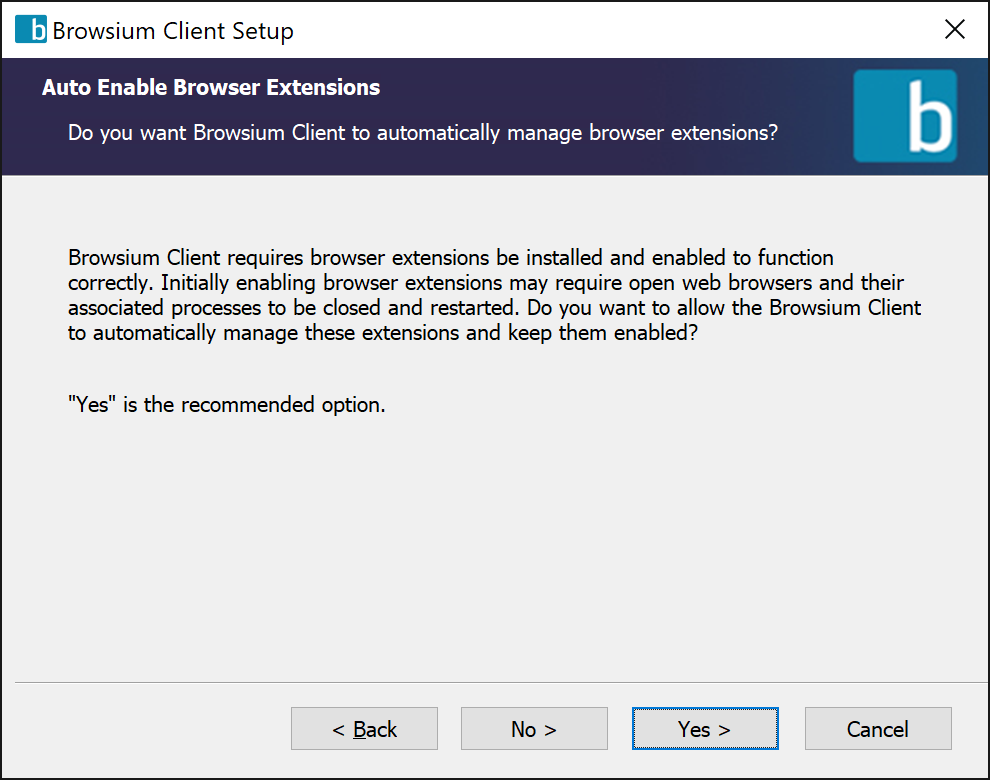
To function properly, the Browsium Client requires browser extensions must be installed and enabled. All supported Web browser extensions are installed during Setup and enabled during first run of the Browsium Client. To ensure proper operation in deployment, the Browsium Client will periodically monitor extensions state and enable them if they become disabled. Installing and enabling extensions often requires open browser windows to be closed.
 {width=“3.8983672353455816in” height=“3.0716294838145233in”}
Click Yes to allow the Browsium Client to enable the extensions and retain control over the setting once deployed. Selecting No only installs the browser extensions, the Browsium Client extensions will not be automatically enabled or setup for ongoing management. Clicking either the Yes or No options will require all open browser windows be closed, and the installer will close them automatically.
If you don’t want to close open browser windows, select Cancel at this time.
Closing browser windows automatically may cause unsaved work to be lost. Verify browser window activity prior to allowing the installation process to close any browser window.
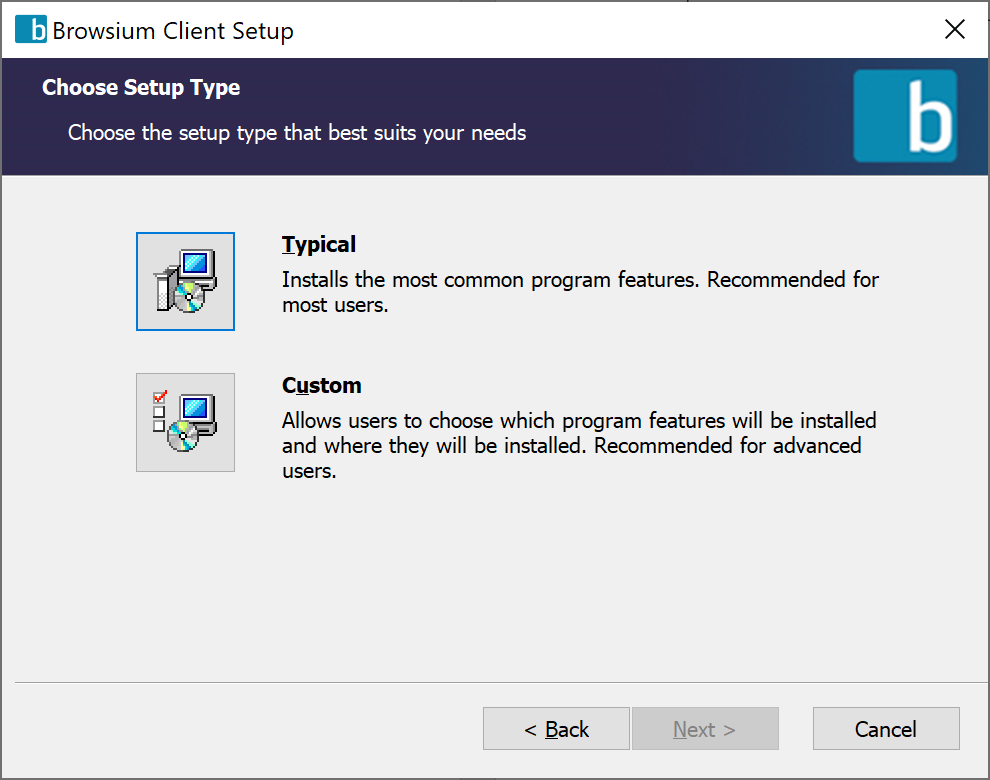
- Selecting Typical installs the Browsium Client Extensions for Microsoft Internet Explorer, Microsoft Edge, Google Chrome, and Mozilla Firefox, and installs the software in the default Program Files directory for 32-bit applications — ‘Program Files’ on 32-bit systems and ‘Program Files (x86)’ on 64-bit systems. If you don’t need to change these defaults, select Typical, then Next to proceed with the Browsium Client installation.
 {width=“3.919889545056868in” height=“3.0885870516185476in”}
Selecting Custom enables manual selection of browser extensions to be installed, as well as the installation directory.
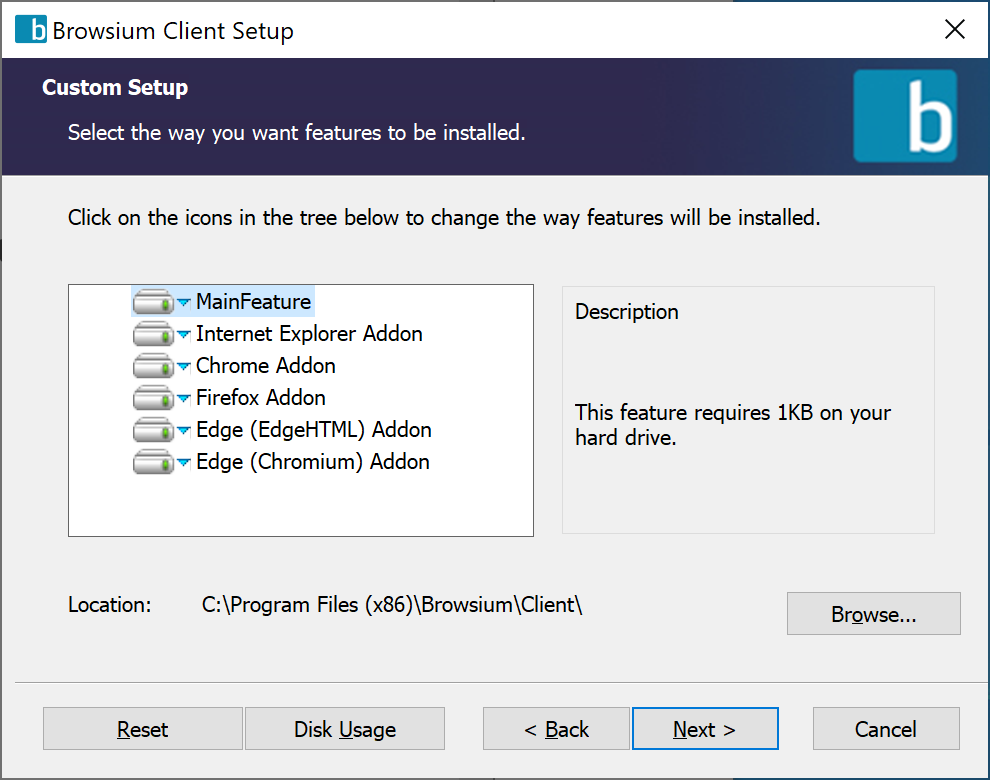 {width=“3.9314665354330707in” height=“3.0977099737532807in”}
Optionally specify the Client Configuration, or click Next to keep the default, blank values for the Proton Server URL, Catalyst License Key, and Ion License Key. These values can be set using the command line switches as detailed in section 2.5. They can also be set via Group Policy or other remote registry configuration tools in an enterprise deployment as detailed in section 5 — Deploying Browsium Client.
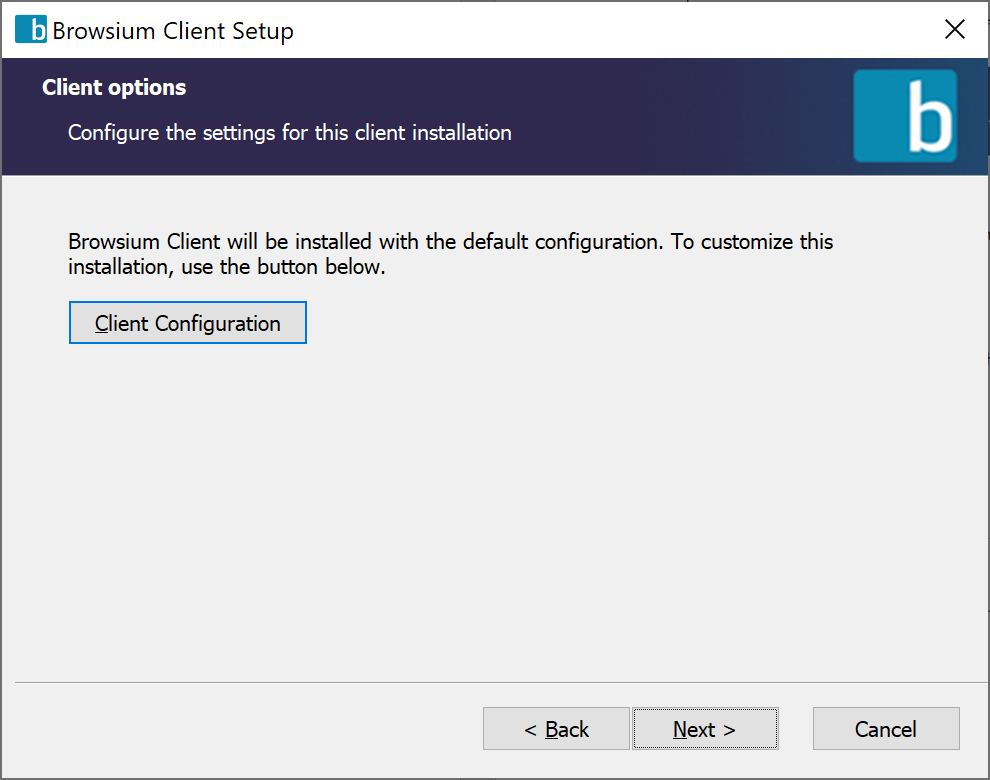 {width=“3.9265135608048993in” height=“3.0938068678915136in”}
- Selecting the Client Configuration button presents a dialog that accepts the URL of the Browsium Client Management (BCMS) Server. The BCMS Server URL is required for the Browsium Client to authenticate licensing and download client configuration information.
If the Proton Server is configured to require all clients to authenticate themselves, then the Client Registration Token (more details in Proton Server Registration section) required for authentication is entered here.
Click OK and then Next to continue.
{width=“2.9835542432195976in” height=“2.402143482064742in”}
If you are entering a BCMS Server URL, it must be specified using HTTPS, the Fully Qualified Domain Name (or Machine Name) and port (if other than 443), followed by ‘/server’ to ensure Browsium Client can communicate with the server.
- Browsium Client is now ready to install. Click Install to proceed.
{width=“3.8683573928258967in” height=“3.047985564304462in”}
- The following screen will display to indicate success when the Browsium Client installation process has finished.
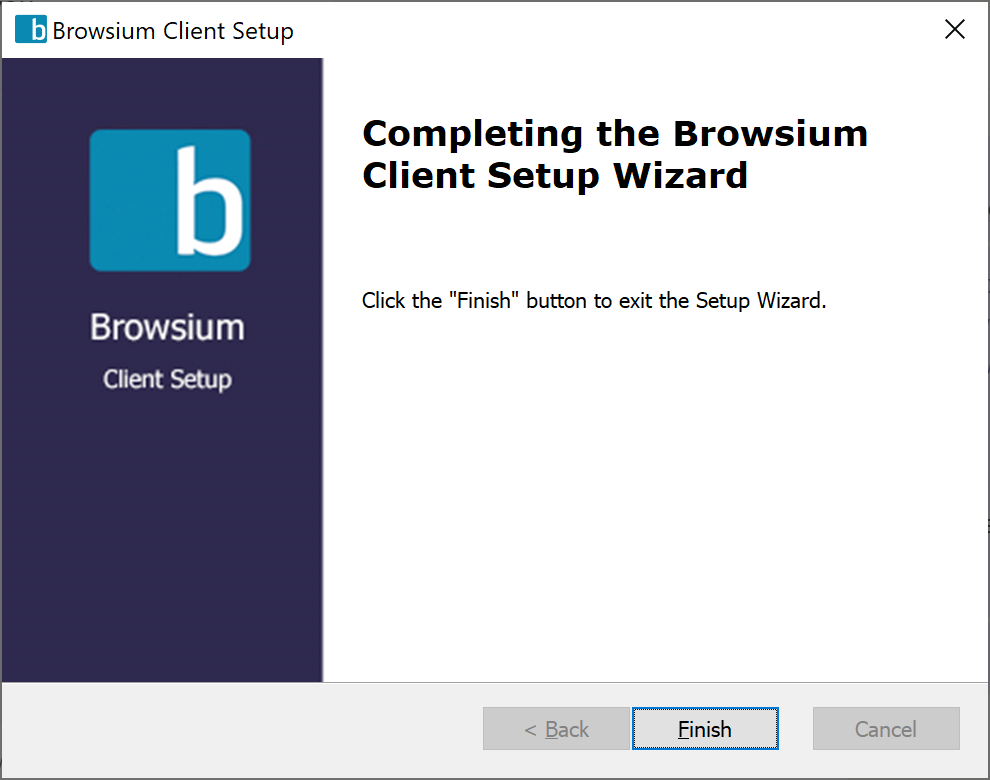 {width=“3.9041601049868766in” height=“3.076194225721785in”}
Confirming Browser Extension Installation
Section titled “Confirming Browser Extension Installation”To confirm the Browsium Client installation has completed properly, launch Internet Explorer and select Tools->Manage Add-ons and ensure the Browsium Internet Explorer Extension is listed and Status is set to Enabled.
 {width=“5.958334426946632in” height=“1.1666666666666667in”}
To confirm the Browsium Client installation has completed properly for Google Chrome, launch it, and open the Settings menu. Select the More Tools / Extensions menu item and verify the Browsium Client Extension is installed and the Enabled checkbox is set. You may also enter chrome://extensions in the address bar to navigate directly to the Extensions page.
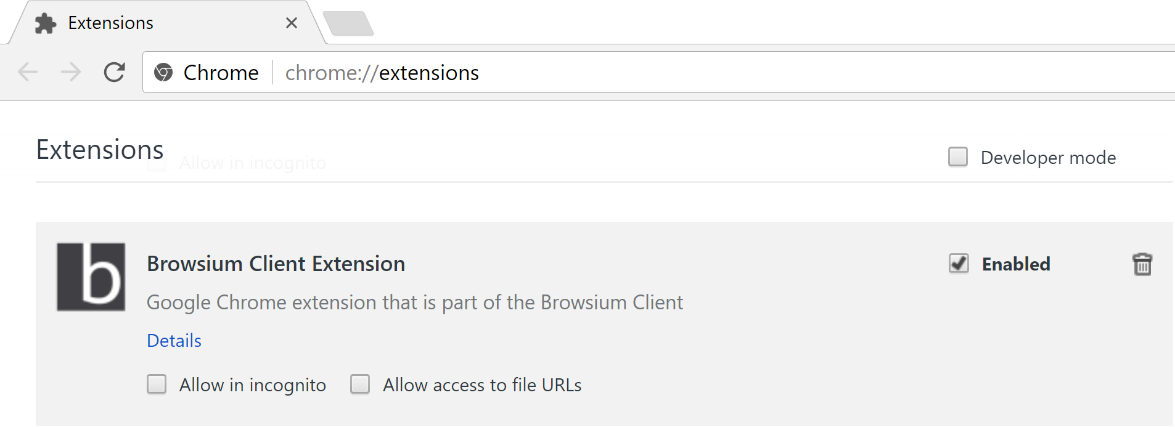 {width=“5.329166666666667in” height=“1.938190069991251in”}
To confirm the Browsium Client installation has completed properly for Microsoft Edge (Legacy), launch Edge (Legacy) and open the Settings menu. Select the Extensions menu item and verify the Browsium Client Extension is installed and the Enabled checkbox is set.
{width=“2.8739129483814523in” height=“1.4195384951881014in”}
To confirm the Browsium Client installation has completed properly for Microsoft Edge (Chromium), launch Edge (Chromium) and open the Settings menu. Select the More Tools / Extensions menu item and verify the Browsium Client Extension is installed and the Enabled checkbox is set. You may also enter edge://extensions in the address bar to navigate directly to the Extensions page.
{width=“6.5in” height=“0.7722222222222223in”}
To confirm the Browsium Client installation has completed properly for Mozilla Firefox, launch the browser and open the Settings menu and select Add-ons (or navigate directly to about:addons in the address bar). Select the Extensions item from the left column and verify the Browsium Proton Client Extension is installed and Enabled (which means the Disable button is visible; when Disabled, the Enable button is visible).
 {width=“4.941568241469816in” height=“1.6375in”}
**
Command Line Switches for the Browsium Client Installer
Section titled “Command Line Switches for the Browsium Client Installer”Browsium Client setup (Browsium-ClientSetup.exe) supports network-based installations using Windows Installer for organizations that use software distribution systems or want to deploy via installation scripts and logon applications. Browsium Client setup passes through command line parameters to Windows Installer (msiexec.exe), and as such, is able to provide all of the standard Windows Installer command line functionality as documented by Microsoft. The constant ’//’ may be used any place the command line requires the package name. Documented below are some examples of common options:
Installation Options
Section titled “Installation Options”Switch Description
</uninstall // | /x //> Uninstalls the product
APPDIR=<path> Installs product to a specific directory, other than the default location
SERVER_URL=<BCMS Server URL> Installs the BCMS Server URL in ConfigurationServerURL value in the registry
IS_PROTON_ACTIVE=<0 or 1> Sets Proton to active if there is a valid Proton/BCMS server URL configured.
KEEP_EXTENSIONS_ENABLED 1 or 0. Enables the automatic management of the Browsium Client extension
Section titled “KEEP_EXTENSIONS_ENABLED 1 or 0. Enables the automatic management of the Browsium Client extension”Display Options
Section titled “Display Options”+--------------------------------+-------------------------------------+ | Switch | Description | +================================+=====================================+ | /quiet | Quiet mode, no user interaction | +--------------------------------+-------------------------------------+ | /passive | Unattended mode - progress bar only | +--------------------------------+-------------------------------------+ | /q[n|b|r|f] | Sets user interface level, where: | | | | | | > n - No User Interface\ | | | > b - Basic User Interface\ | | | > r - Reduced User Interface\ | | | > f - Full User Interface (Default) | +--------------------------------+-------------------------------------+ | /help | Shows help information | +--------------------------------+-------------------------------------+
Restart Options
Section titled “Restart Options”Switch Description
/norestart Do not restart after the installation is complete
/promptrestart Prompts the user for restart if necessary
/forcerestart Always restart the computer after installation (the default if no other option is selected)
Section titled “/forcerestart Always restart the computer after installation (the default if no other option is selected)”Logging Options
Section titled “Logging Options”Switch Description
/l[i|w|e|a|r|u|c|m|o|p|v|x|+|!|*] <LogFile> Install keeping a log file, where:
i - Status messages
w - Nonfatal warnings
e - All error messages
a - Start up actions
r - Action-specific records
u - User requests
c - Initial UI parameters
m - Out-of-memory or fatal exit information
o - Out-of-disk-space messages
p - Terminal properties
v - Verbose output
x - Extra debugging information
+ - Append to existing log file
! - Flush each line to the log
* - Log all information, except for v and x options
/log <LogFile> Equivalent of /l* <LogFile>
Section titled “/log <LogFile> Equivalent of /l* <LogFile>”Repair Options
Section titled “Repair Options”Switch Description
/f [p][o][e][d][c][a][u][m][s][v]\ Install keeping a log file, where:
{Package | ProductCode} p - Reinstalls only if file is missing
o - Reinstalls if file missing or older version installed
e - Reinstalls if file missing or equal or older version is installed
d - Reinstalls if file missing or different version installed
c - Reinstalls if file is missing or the stored checksum does not match the calculated value
a - Forces all files to be reinstalled
u - Rewrite all user-specific registry entries
m - Rewrites all computer-specific registry entries
s - Overwrites all existing shortcuts
v - Runs from source and re-caches the local package
Ensuring unique client installations
Section titled “Ensuring unique client installations”Each Browsium client installation must be uniquely identified to ensure correct operation, licensing, and data collection (for Browsium Proton). Browsium uses local machine SIDs to uniquely identify machines on the network. Some deployment approaches employ a replicated standard image or similar technique to rapidly deliver identical user systems.
If this replication approach is not combined with ensuring the SID is updated to a globally unique value, it may cause issues and a failure of the Browsium system and the client registration process. Duplicate SIDs on a network are not compatible with Browsium client registration. While some organizations ensure unique SIDs during end user provisioning and system creation, Browsium includes a mechanism to find or generate a machine SID for customers who opt not to create unique system SIDs.
Machine SIDs
Section titled “Machine SIDs”To configure how the Browsium client should identify the SID to use, the client will look in the following locations (priority - highest to lowest) for the dWord value:
The available dWord values are:
 {width=“0.9194444444444444in” height=“0.9194444444444444in”}Section Two
Browsium Client Deployment for Proton in the Enterprise
In this section, you will learn:
-
How to use Group Policy to manage Proton extension settings for each browser
-
To automatically enable and lock down the Proton extensions on remote systems
-
To configure other settings to improve the Proton experience for end users